The Trajan 125 band saw, renowned for its efficiency in precise material cutting, gets an upgrade with a part stop installation. This guide in partnership with Sawblade.com, provides an easy-to-follow process for this addition.
Enhancing Precision with a Part Stop
Integrating a part stop with your Trajan 125 Band Saw elevates its functionality. This accessory is crucial for achieving uniform cuts at specific lengths, making it a favorite amongst both professionals and hobbyists.
Prioritizing Safety
Safety is paramount. Before beginning the installation, disconnect the band saw to avoid any potential hazards.
Installation Process
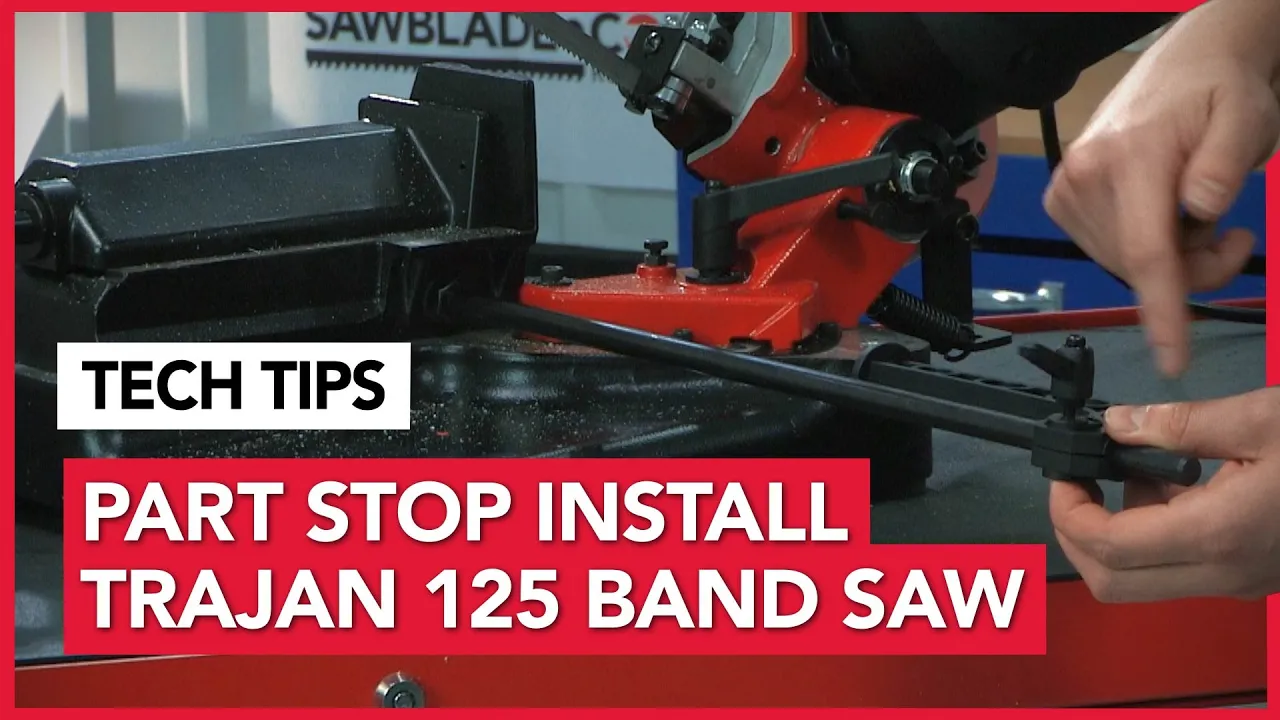
- Attaching the Rod to the Base: Begin by screwing the rod and bolt into the base, located just beneath the blade. Secure it tightly with a 19-millimeter wrench.
- Adding the Stopper: Slide the stopper onto the rod, followed by feeding the bolt into it. Ensure the bolt’s threads are facing upwards for proper arm attachment.
- Setting Cut Length: The part stop boasts a 10-inch capacity. Measure from the blade to the stopper to set your desired length. In the video, Tom demonstrates setting a 7-inch length.
- Ready to Cut: Place your material against the stopper after opening the vise. Secure it by closing the vise, and you’re set to cut.
Conclusion
The addition of a part stop to the Trajan 125 band saw is a game changer for precise and efficient cutting. Following this guide will enable a swift and accurate installation, leading to enhanced cutting performance.
For all your cutting requirements, visit Sawblade.com – your direct source for cutting solutions without the hassle of intermediaries.